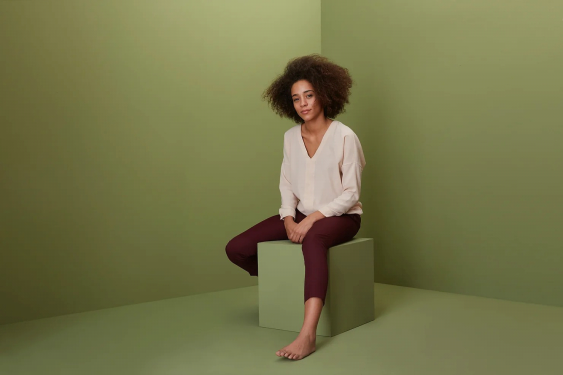
Green screens are a great way to change your video setting and style. They are very versatile and can make your background more exciting or neutral, depending on your need.
Check out our guide below on how to get the best results from your green screen.
Step One: Setting Up Your Green Screen
Main Points:
– Use a stand/frame to keep the screen secure and steady.
– Ensure the screen fills the entire background.
– Ensure there are no wrinkles on the screen.
Your green screen must fill the entire background of your shot. If you miss any space, the backdrop you chose during editing will not fill the missing gaps.
Use a frame to ensure the screen stays upright and still during your filming. Any wobbling may cause the background to glitch, resulting in unprofessional video quality.
Many people opt for a pop-up green screen that is easy to stow away after filming, although a woven backdrop works just as well. Your green screen should be tear and wrinkle-free, no matter the type, to ensure smooth background replacement in the editing process. Most backdrops can be ironed or steamed, although you should check this upon purchase or first use.
Step Two: Lighting Your Green Screen
Main Points:
– Light the screen before adding your subject.
– Ensure the screen is equally lit.
– Avoid shadows.
Light your green screen before adding your subject. This ensures that the screen is equally covered and evens out any patches that may make the background look uneven.
Softbox lighting is the most effective. The green screen should be lit from an above angle, ensuring the backdrop is equally covered. You can minimise shadows by lighting the screen from further away.
Step Three: Placing Your Subject
Main Points:
– Have lots of space between the subject and screen.
– Ensure you have the best composition for your video.
When placing your subject, whether it’s an object or person, you should aim to have as much space between them and the screen as possible. This minimises shadows and colour complications.
For help on how to get the best composition for your subject and camera, check out our blog How To Get The Best Composition For Your Video: DIY Filming Tips.
Step Four: Filming
Main Points:
– Be creative.
– Do multiple takes.
– Inject your brand personality.
Now it’s time for some fun!
Film your video from beginning to end with the green screen in the background. Ensure you do multiple takes for best results when editing.
If you need help with video content ideas, check out our blog: 6 Brand Videos That Will Motivate Your Marketing to kickstart your creativity.
Step Five: Editing Your Footage
Main Points:
– Edit your video before you replace your background.
Edit your footage while keeping the green screen background. This will help keep the background smooth and steady if you need to jump between takes.
Check out our blog, The Best Editing Software For Your Marketing Video: DIY Filming Tips, for more help with this step.
Step Six: Finding Your Software
Main Points:
– You may be able to use the same software to both edit your video and replace your green screen.
– Check out the best background remover software.
Green screen software uses chroma key, which highlights block colour (in this case green) and removes and replaces the colour in the video.
You can often use the same software to replace your green screen as you previously used to edit your final footage. However, there are many good tools out there that are specifically designed to replace video backgrounds, and they come with a lot of fun and versatile designs.
Check out this blog by Cyber Link for a list of their top green screen software suggestions.
Step Seven: Adding Your Background
Chose a background that compliments both your subject and your brand image. You can paste the background image, replacing the green screen.
You may already have a background in mind, but if you need inspiration, check out this blog by Shoot Systems.
If you want to boost your video marketing, get in touch with one of our team members today at hello@foxfifth.com.


